
OK, it’s been a little while and it’s time for an update. As always, here’s a reminder of how things looked last time...

Well, sort of last time, this picture was taken before I added the 2nd bay platform to the station under the bridge (Langstead Junction) seen here top left bellow the speaker. Unfortunately I forgot to take a picture after this was done, and before I’ve done some more work. But anyway, you get the jist…
One thing that is bothering me about the layout in it’s present state is the two sidings next to the station in the centre of the layout. They sort of look messy – the curvature of the inner most loop crosses the end of the left hand most siding unrealistically close. More importantly they’re not actually functional – there’s no point motors allowing access to them so to actually use them in an operational context I’d have to get up and manually change them (which I’m unlikely to do with all the controls at my desk). These sidings originally existed for operational benefit: right from the start they were designed to store wagons and a loco to shunt on and off the mainline and into the station. However when I moved my control position from the layout to my desk I pretty much lost this option. These sidings have therefore been relegated to mere scenic interest and are now wasting valuable real estate.
So how can I change this space to better suit my needs?
Well, I messed about with a few options and here’s what I came up with…

Using ever trusty Balsa Wood (I bloody love Balsa Wood – cheap, light and easy to cut) I’ve removed that left most siding and replaced it with a 2nd short bay platform. I’ve also extended the length of both the remaining siding and main station road to accommodate longer trains.

I’ve painted it in similar fashion to the Langstead Junction. I’ve also extended the length of the main platform. This can accommodate either a two car DMU/EMU (a 142 perhaps), a diesel loco and coach, or at a push two coaches and a small steam loco. The bay can accommodate a single car DMU such as the Class 153 or a shunter and a couple of ballast wagons. The set of points allowing access to either platform will now be motorised.
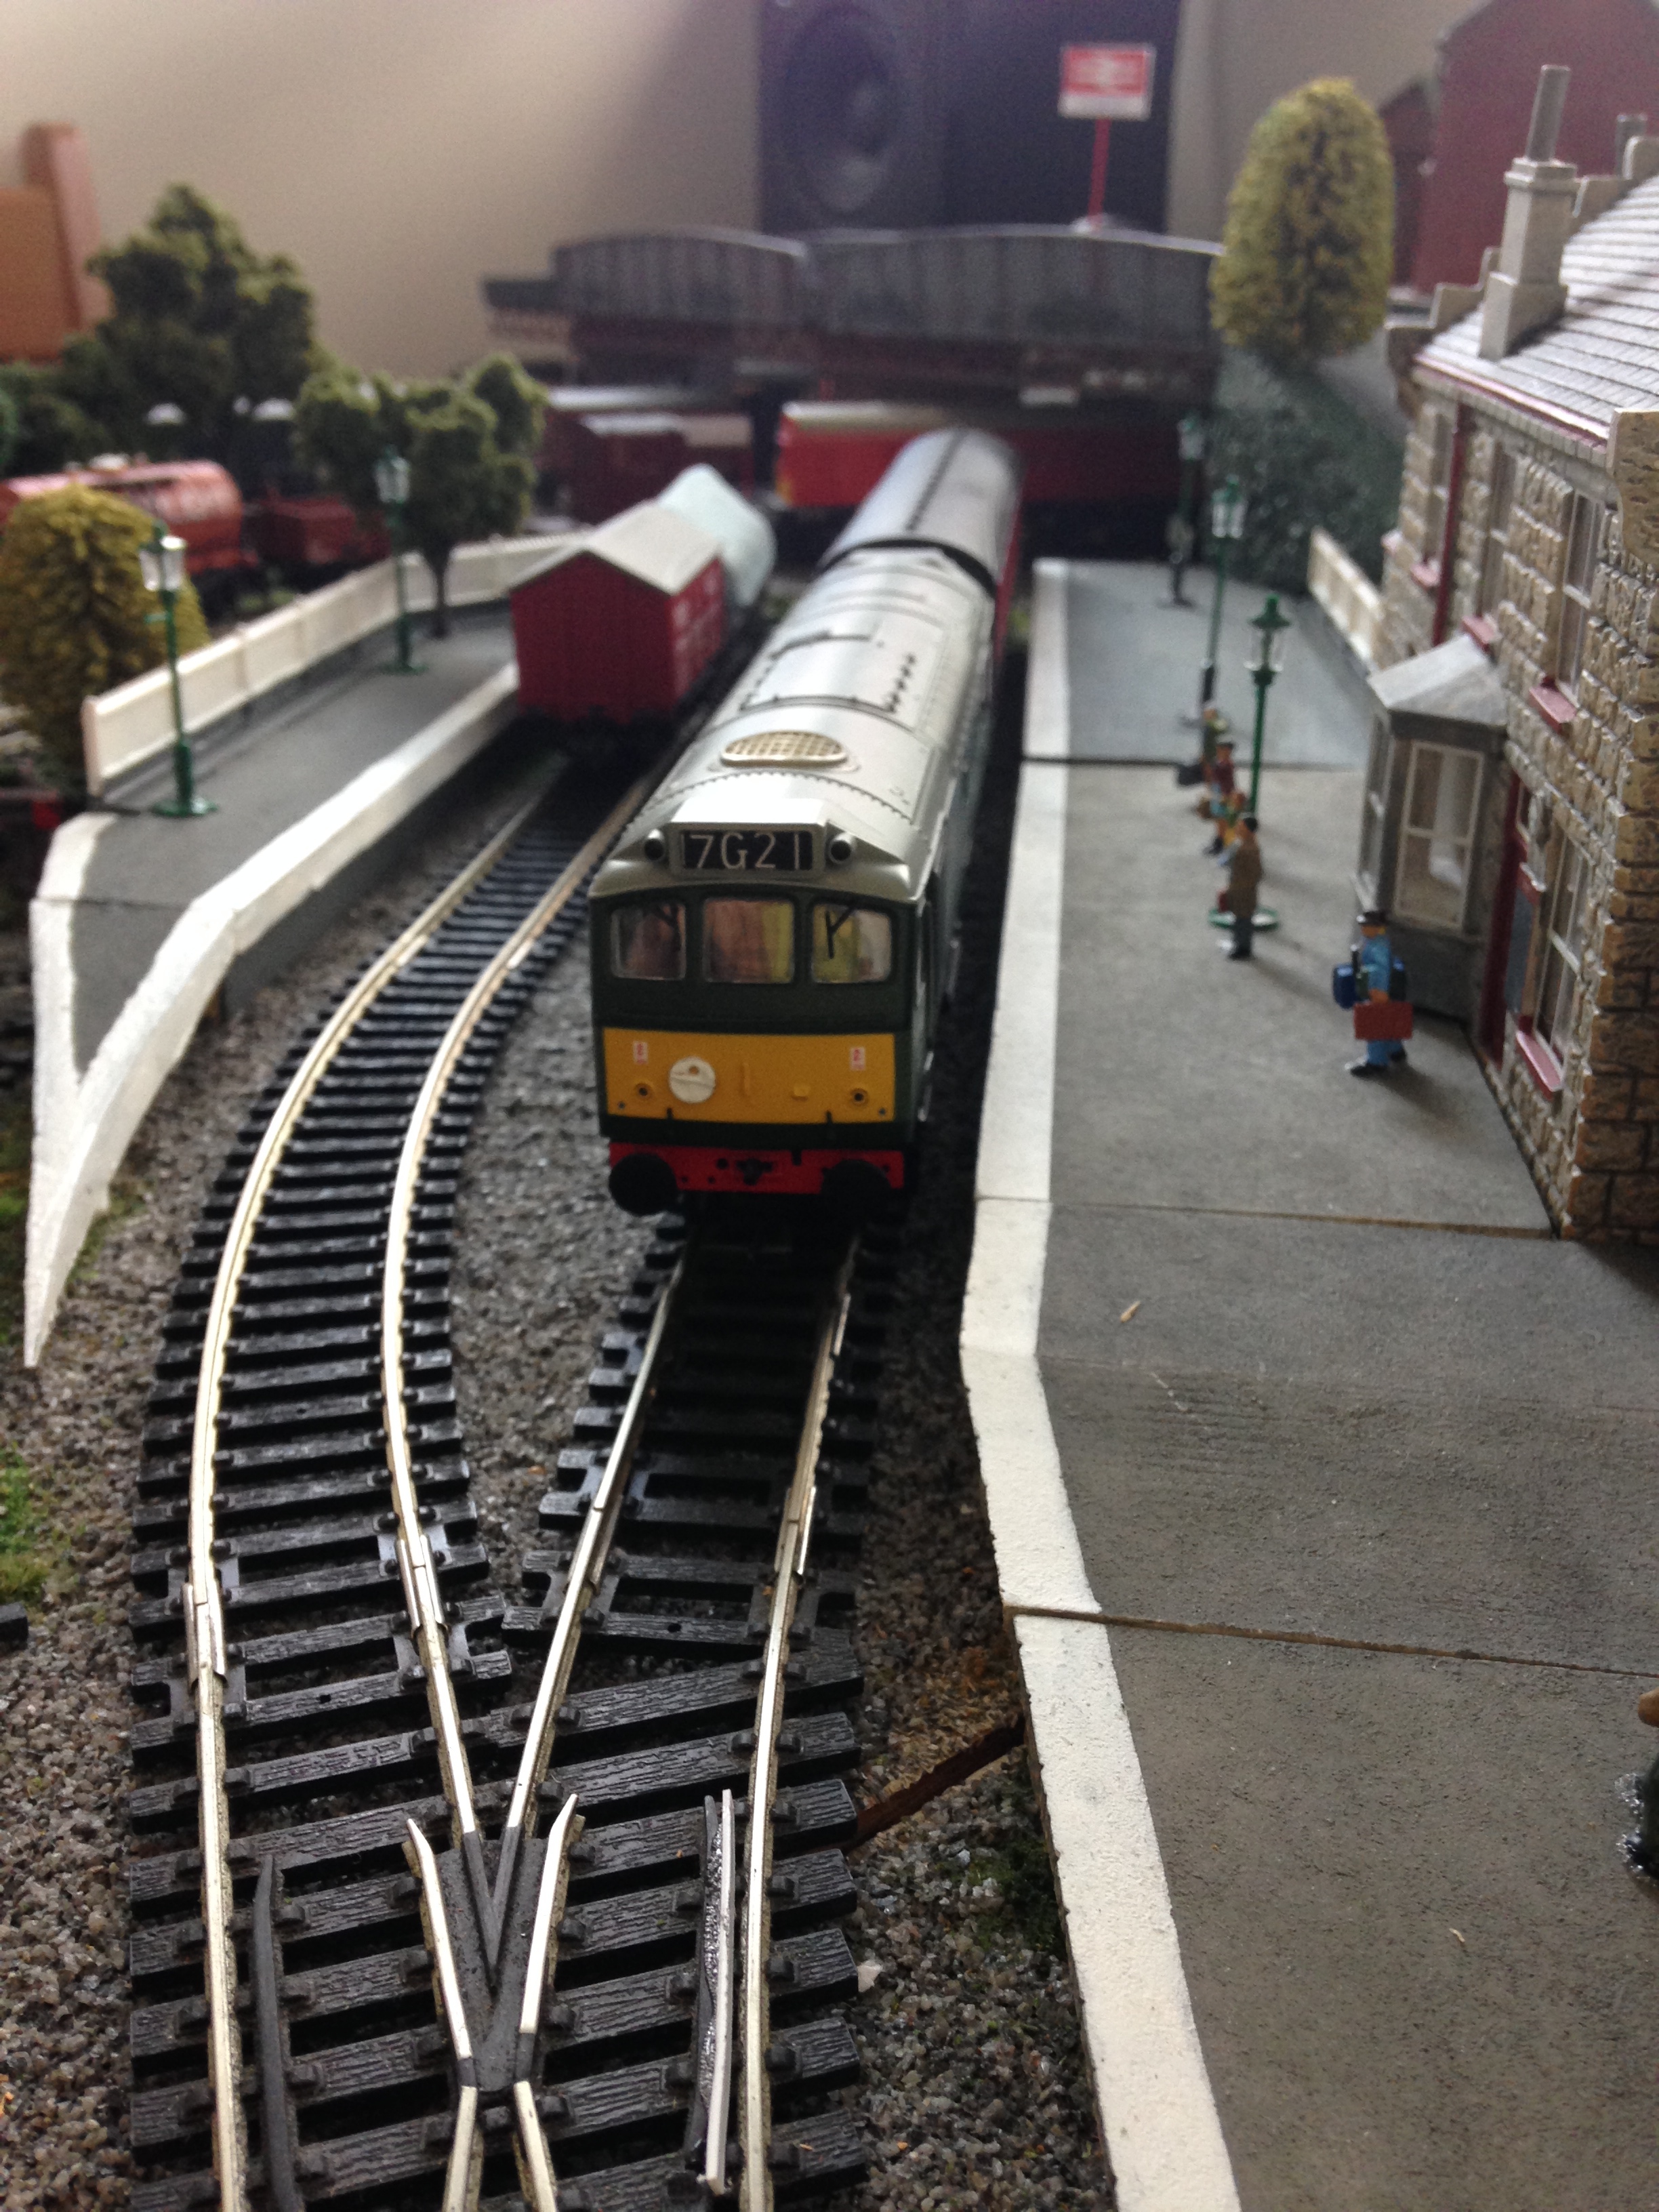
A Class 25 awaits departure…

Viewing the updated station from another angle I’ve used old Hornby fence pieces and painted them white to give them a more realistic feel. I’ve kept the abandoned siding to the bottom right of the picture – maybe at one time this was a wagon load point or a loco stabling road. I’ve reflected this by stopping the fence railings half way down the platform.
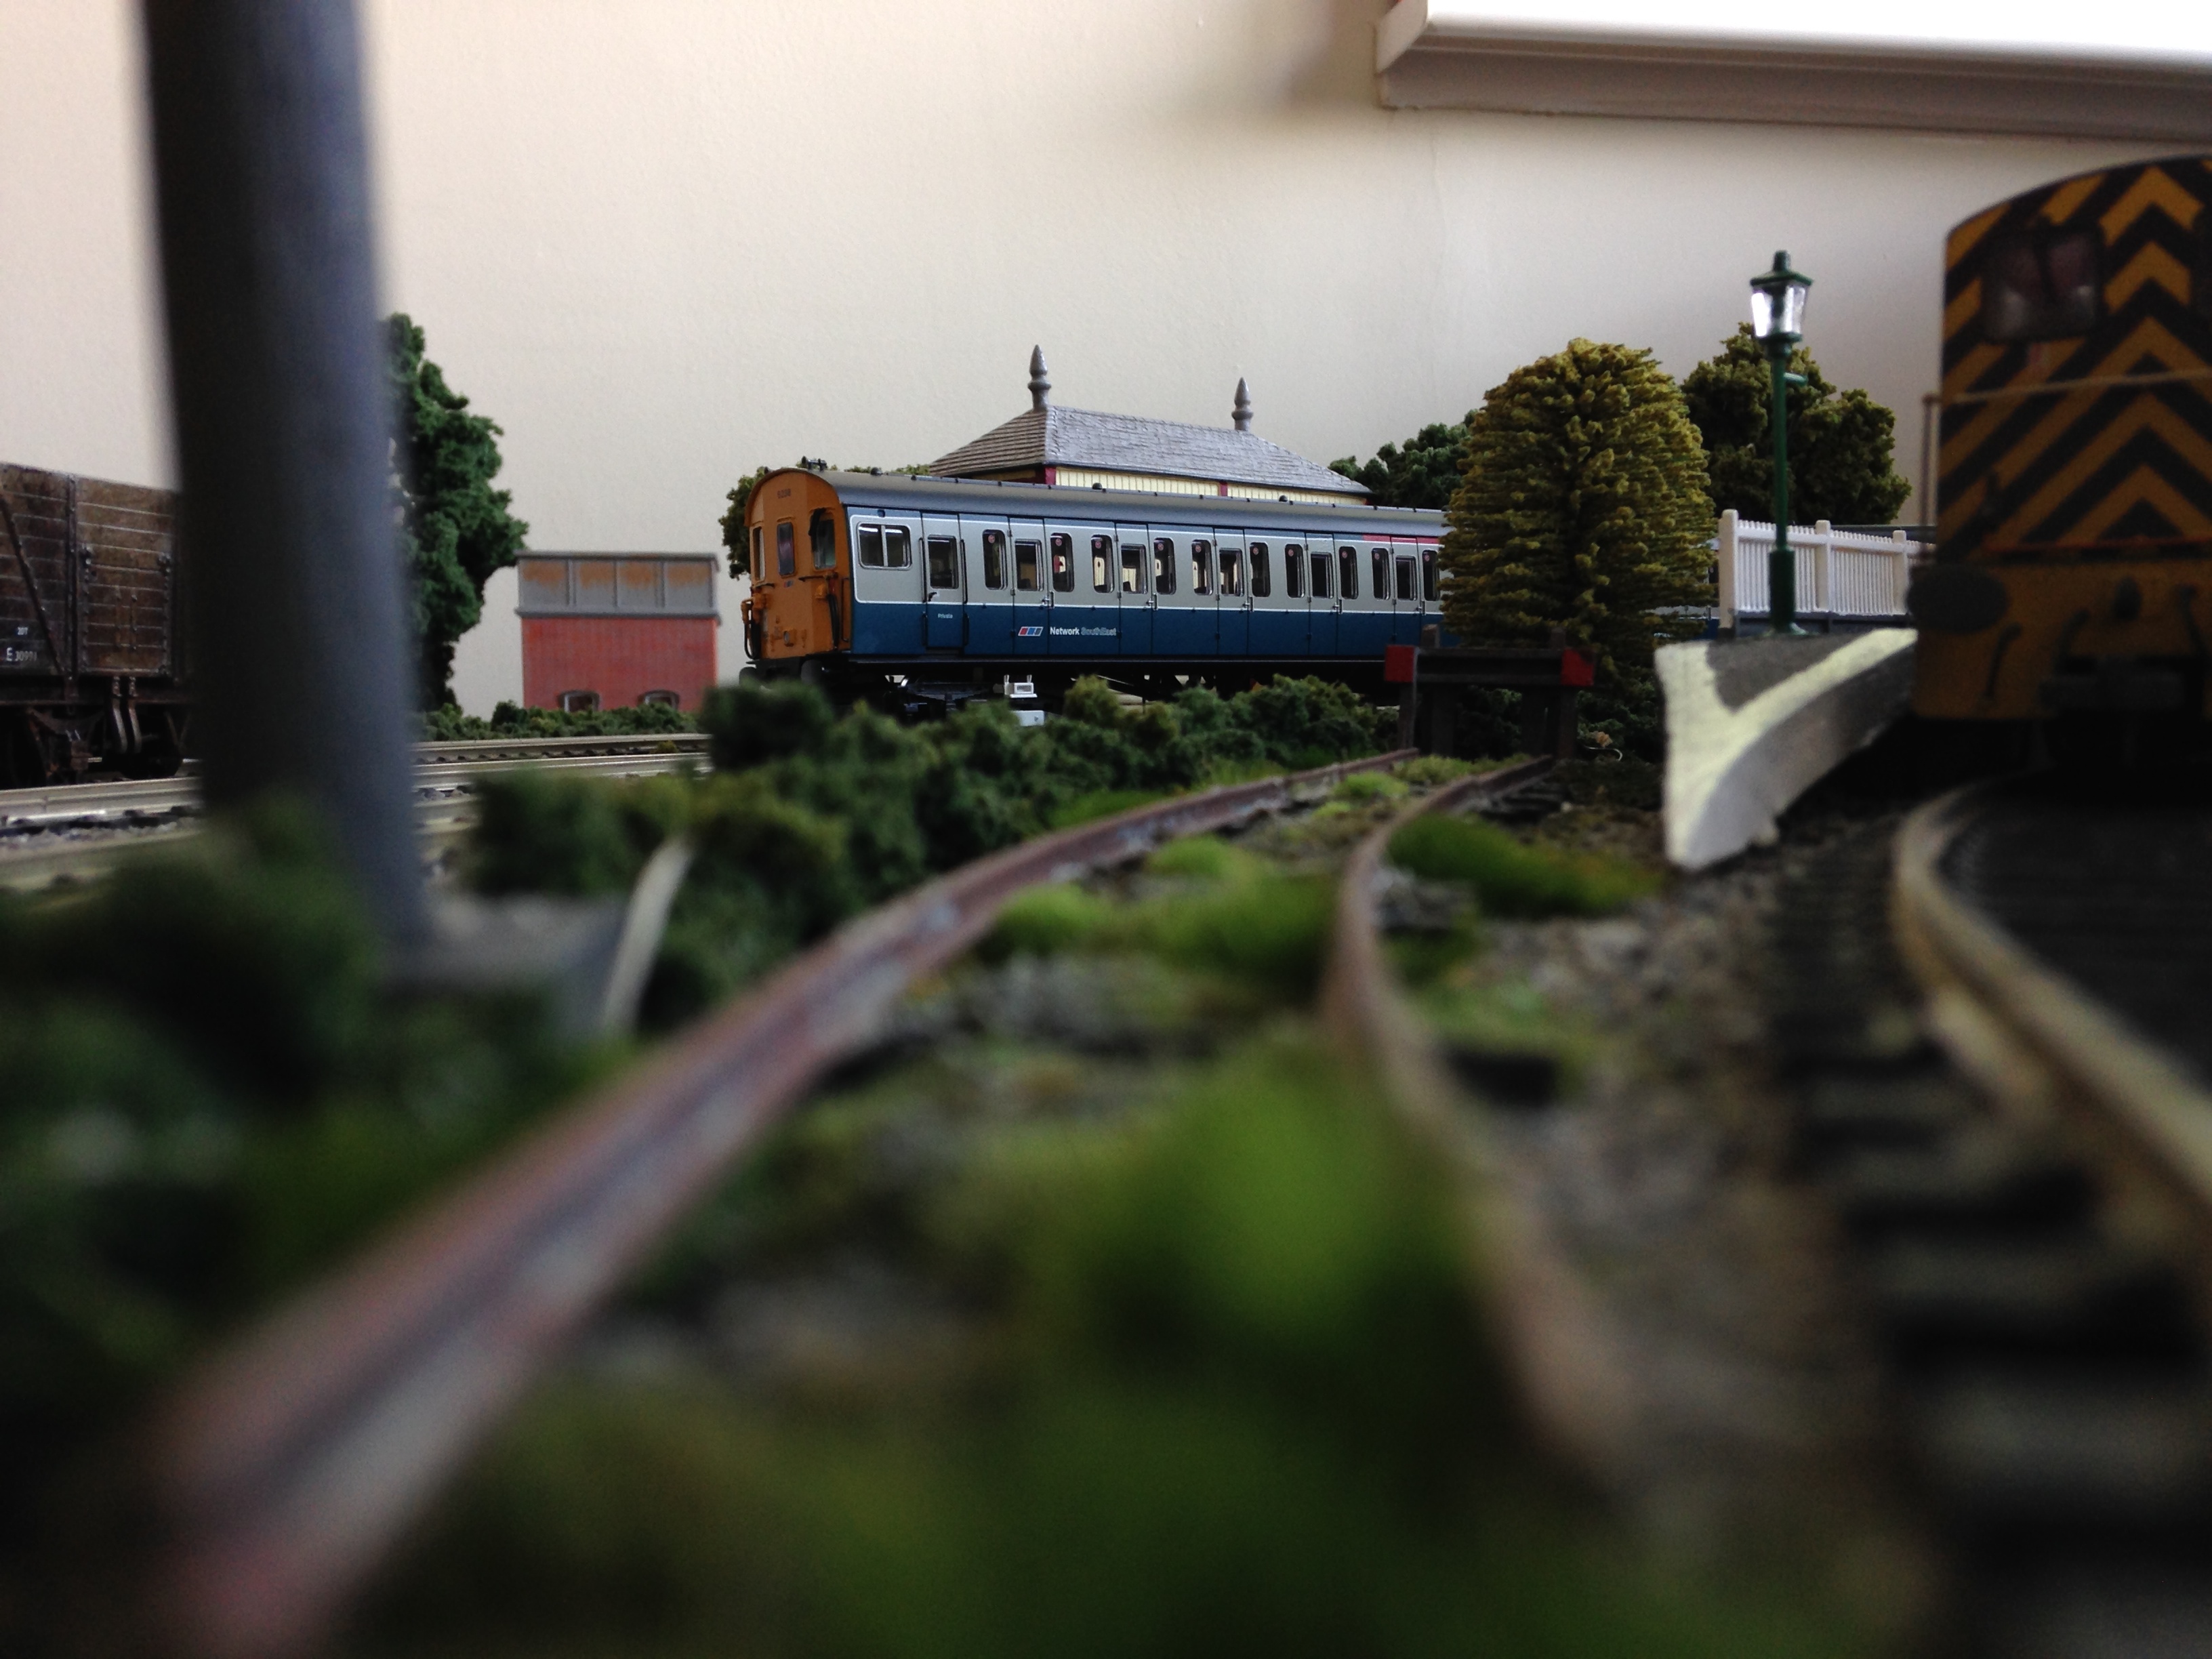
In fact I went further still, rusting up some old rails and glueing these down to create that decaying overgrown look. (The train in the background is a Bachmann 416 EMU)…

Here’s another view with that abandoned siding to the left. I’ve bought a footbridge from the Hornby Skaledale range, which was the only one I could find that would fit the narrow bay platform! I think it really finishes the look of the station, and don’t worry I’ll get to that new signal gantry shortly!

A two car EMU sits in the main platform with a shunter in the bay. I can even use that abandoned siding to dump a discarded wagon..

I use this one here to practice weathering. As you can see, I went quite overboard in this attempt, but it suits the scenario well.
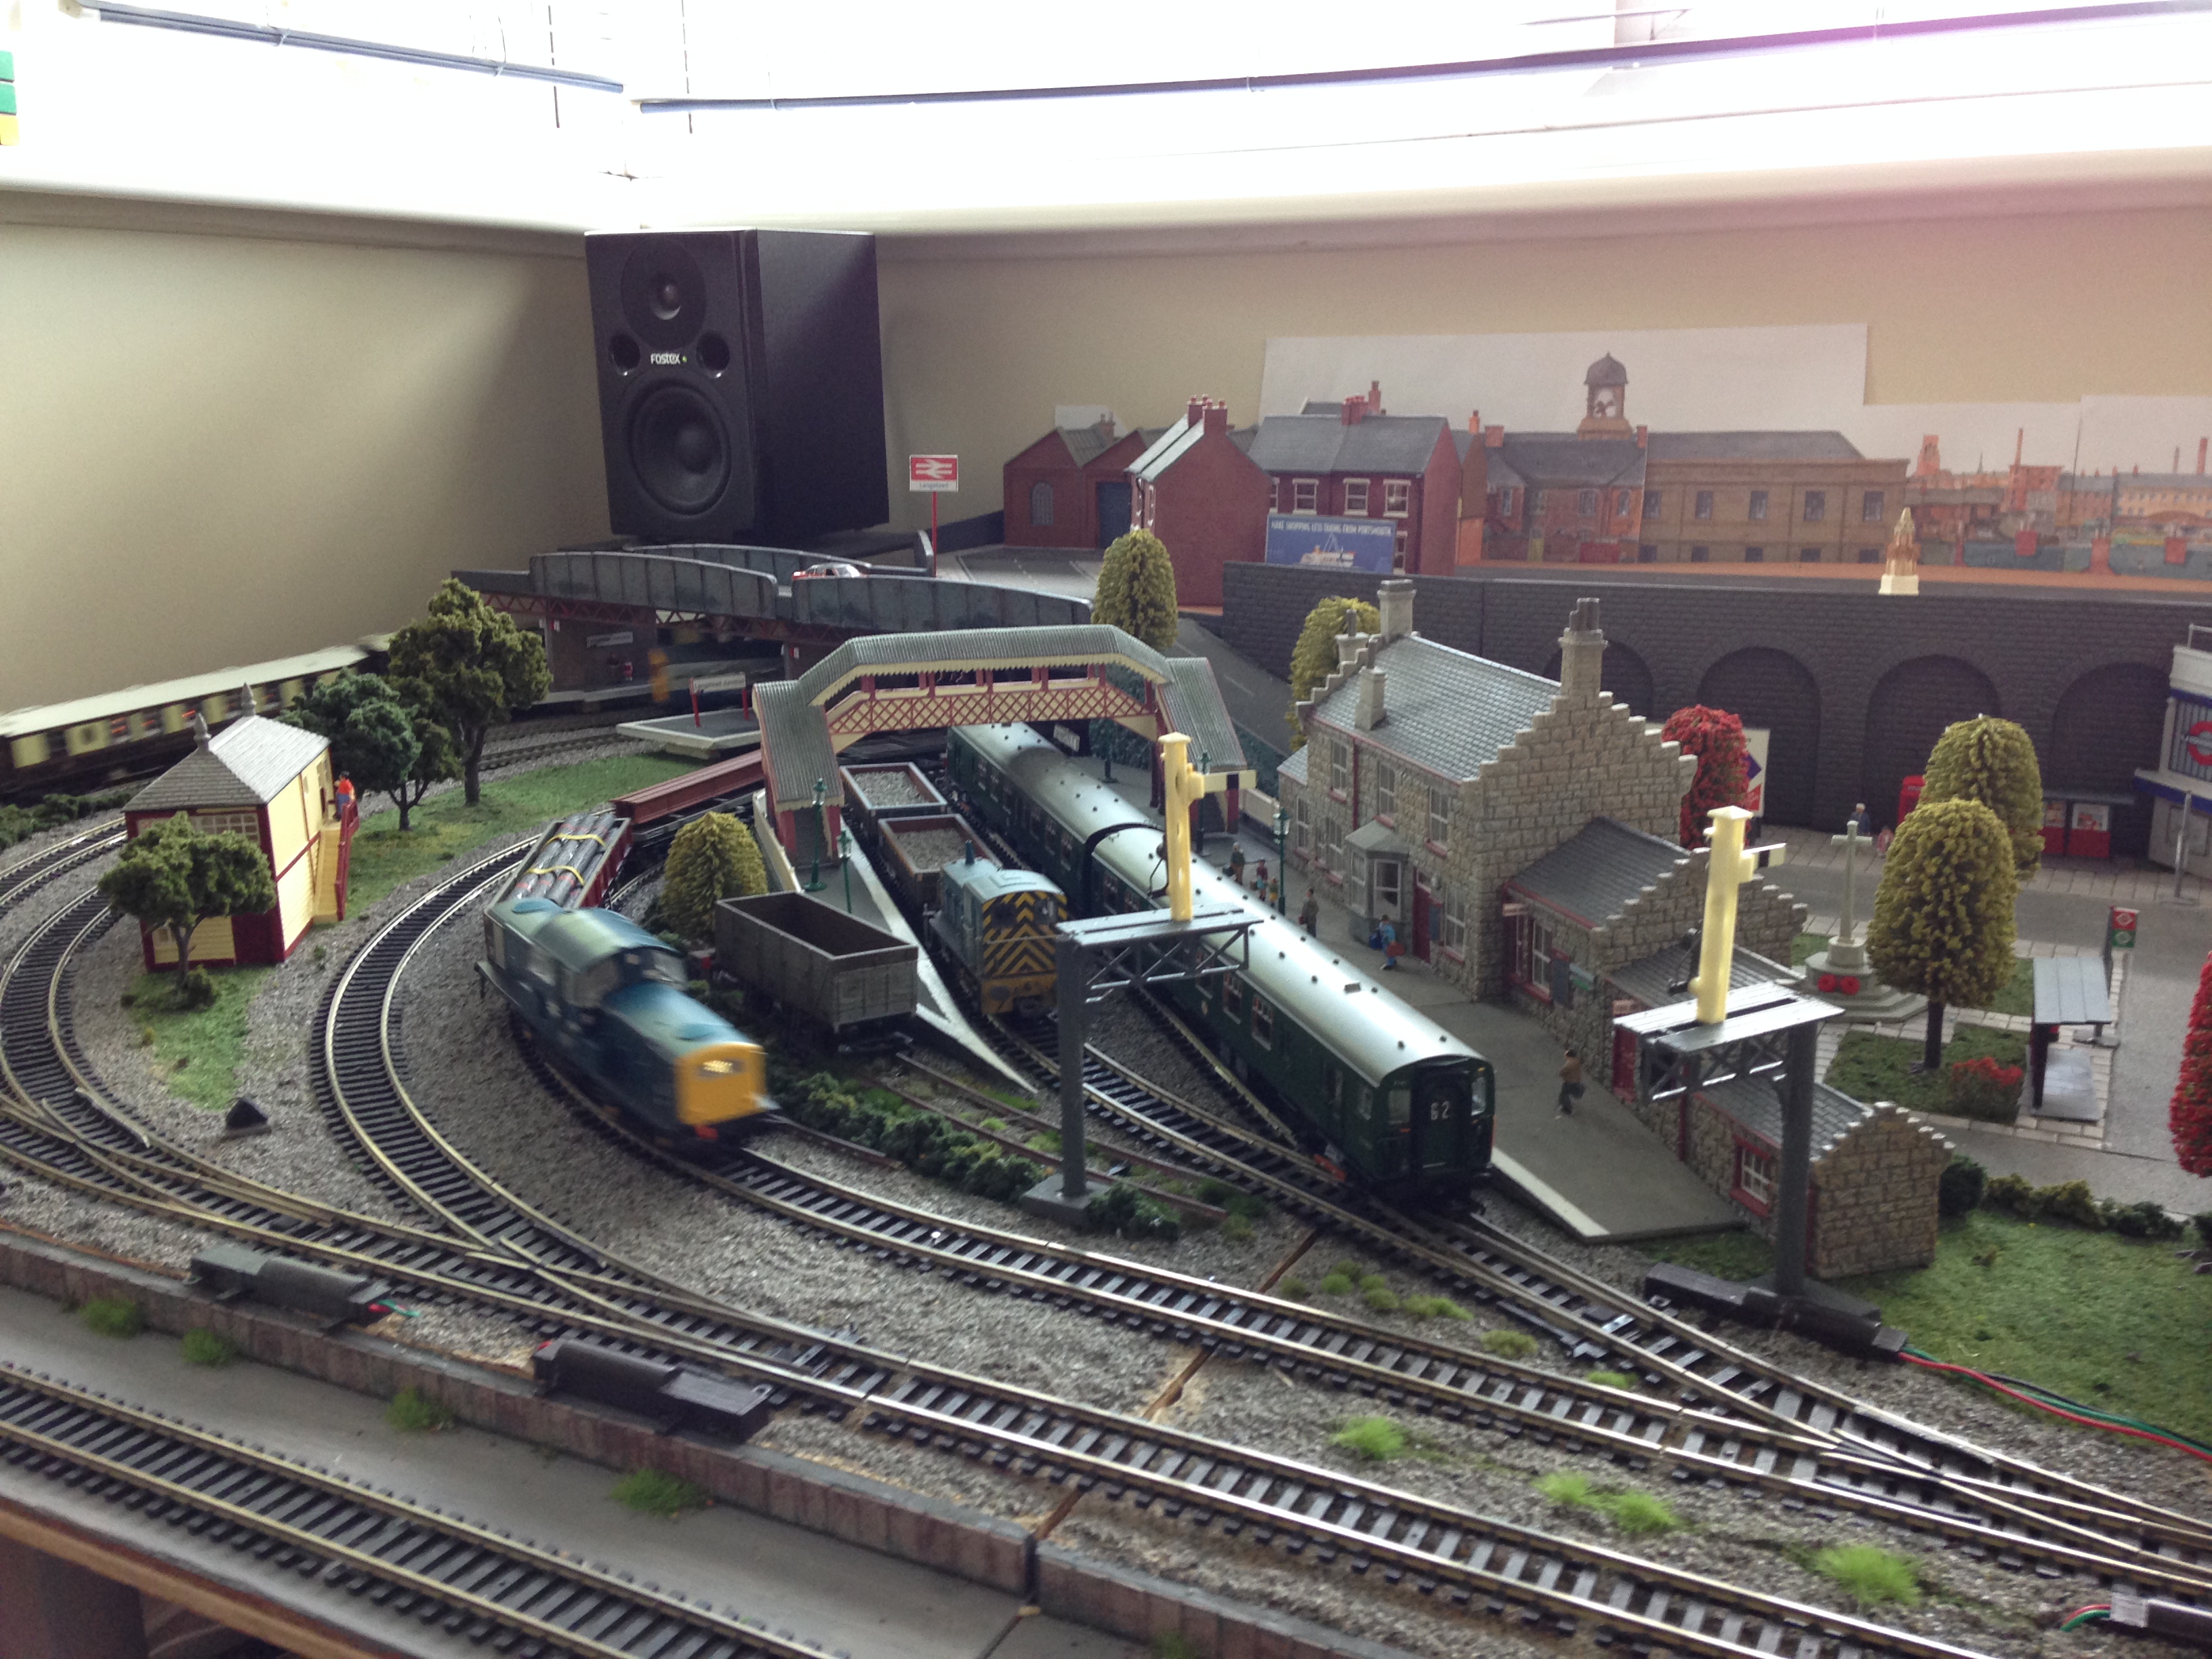
Now onto that new gantry: Both platforms have a station starter semaphore, which at the moment aren’t operational and are just for show. You’ll have noticed there is a complete lack of signalling on my layout thus far and that’s something I’m going to start developing and experimenting with in the coming months.

And guess what?! I’ve already started.. Both the station starters and this gantry has been attempted from Hornby home and distant semaphores. I’ve tried to be clever with their usage and positions meaning that even though they are fixed and nonoperational their indicated meanings still make (rough) sense. For example, looking in this direction all three routes show a ‘Proceed with Caution’ aspect. The outermost loop (right) in the opposite direction shows ‘Clear’ – which is almost always going to be true for that direction and position.
OK, so some aren’t quite accurate, the inner most loop (left) is showing both ‘Proceed with Caution’ in one direction and ‘Clear’ in the opposite, which wouldn’t happen in real life.

I wanted to use both semaphore and colour light signals on my layout for the sake of trying out a bit of both. Getting semaphores to work is quite tricky and fiddly, especially for a complicated gantry like this one, and especially for an inexperienced modeller like myself. That’s not to say that I won’t have a go in the future! For now their fixed positions (mostly) are prototypical to real life.

Elsewhere on the layout I’ve started some scenic work on the upper town scene. New roadway and pavement have been laid. I’ve only gone halfway as I’m going to wait to see what buildings I get to plan out what I do next.

And that’s where we’re up to. As always stay tuned for more updates soon!
– Andy Carter

[…] changed my layout. Not in a way that has changed the track plan nor altered the scenery as I have done in the past… No, today I joined my two based boards […]
[…] Actually in May of this year I went station crazy… […]