
It’s high time for a layout update, and you may remember back in the summer I did a roundup of Langstead’s complete story from start to finish…

…At the end I hinted towards what was happening next: Construction of two new upper tiers, a tube station and a small yard above that. So let’s back peddle slightly to how I arrived at the picture above.

This is how the upper levels looked before development. You can see the short stretch of track that mapping out where The Tube line will sit, station and tunnel. There’s just enough space for a two-car train to either stand in the station or out of site in the tunnel. It will be my eventual intention to fit the EFE Tube stock models with motors to make it fully operational.

The station is built out of wood and foam retaining walls. The above picture also illustrates where the train will be hidden when ‘inside’ the tunnel…

…and that space is covered over by a piece of ply.

Some detailing finishes off this layer. The hole in the platform is a stairwell, giving the impression that it leads down to the Charles Holden-esque building bellow.
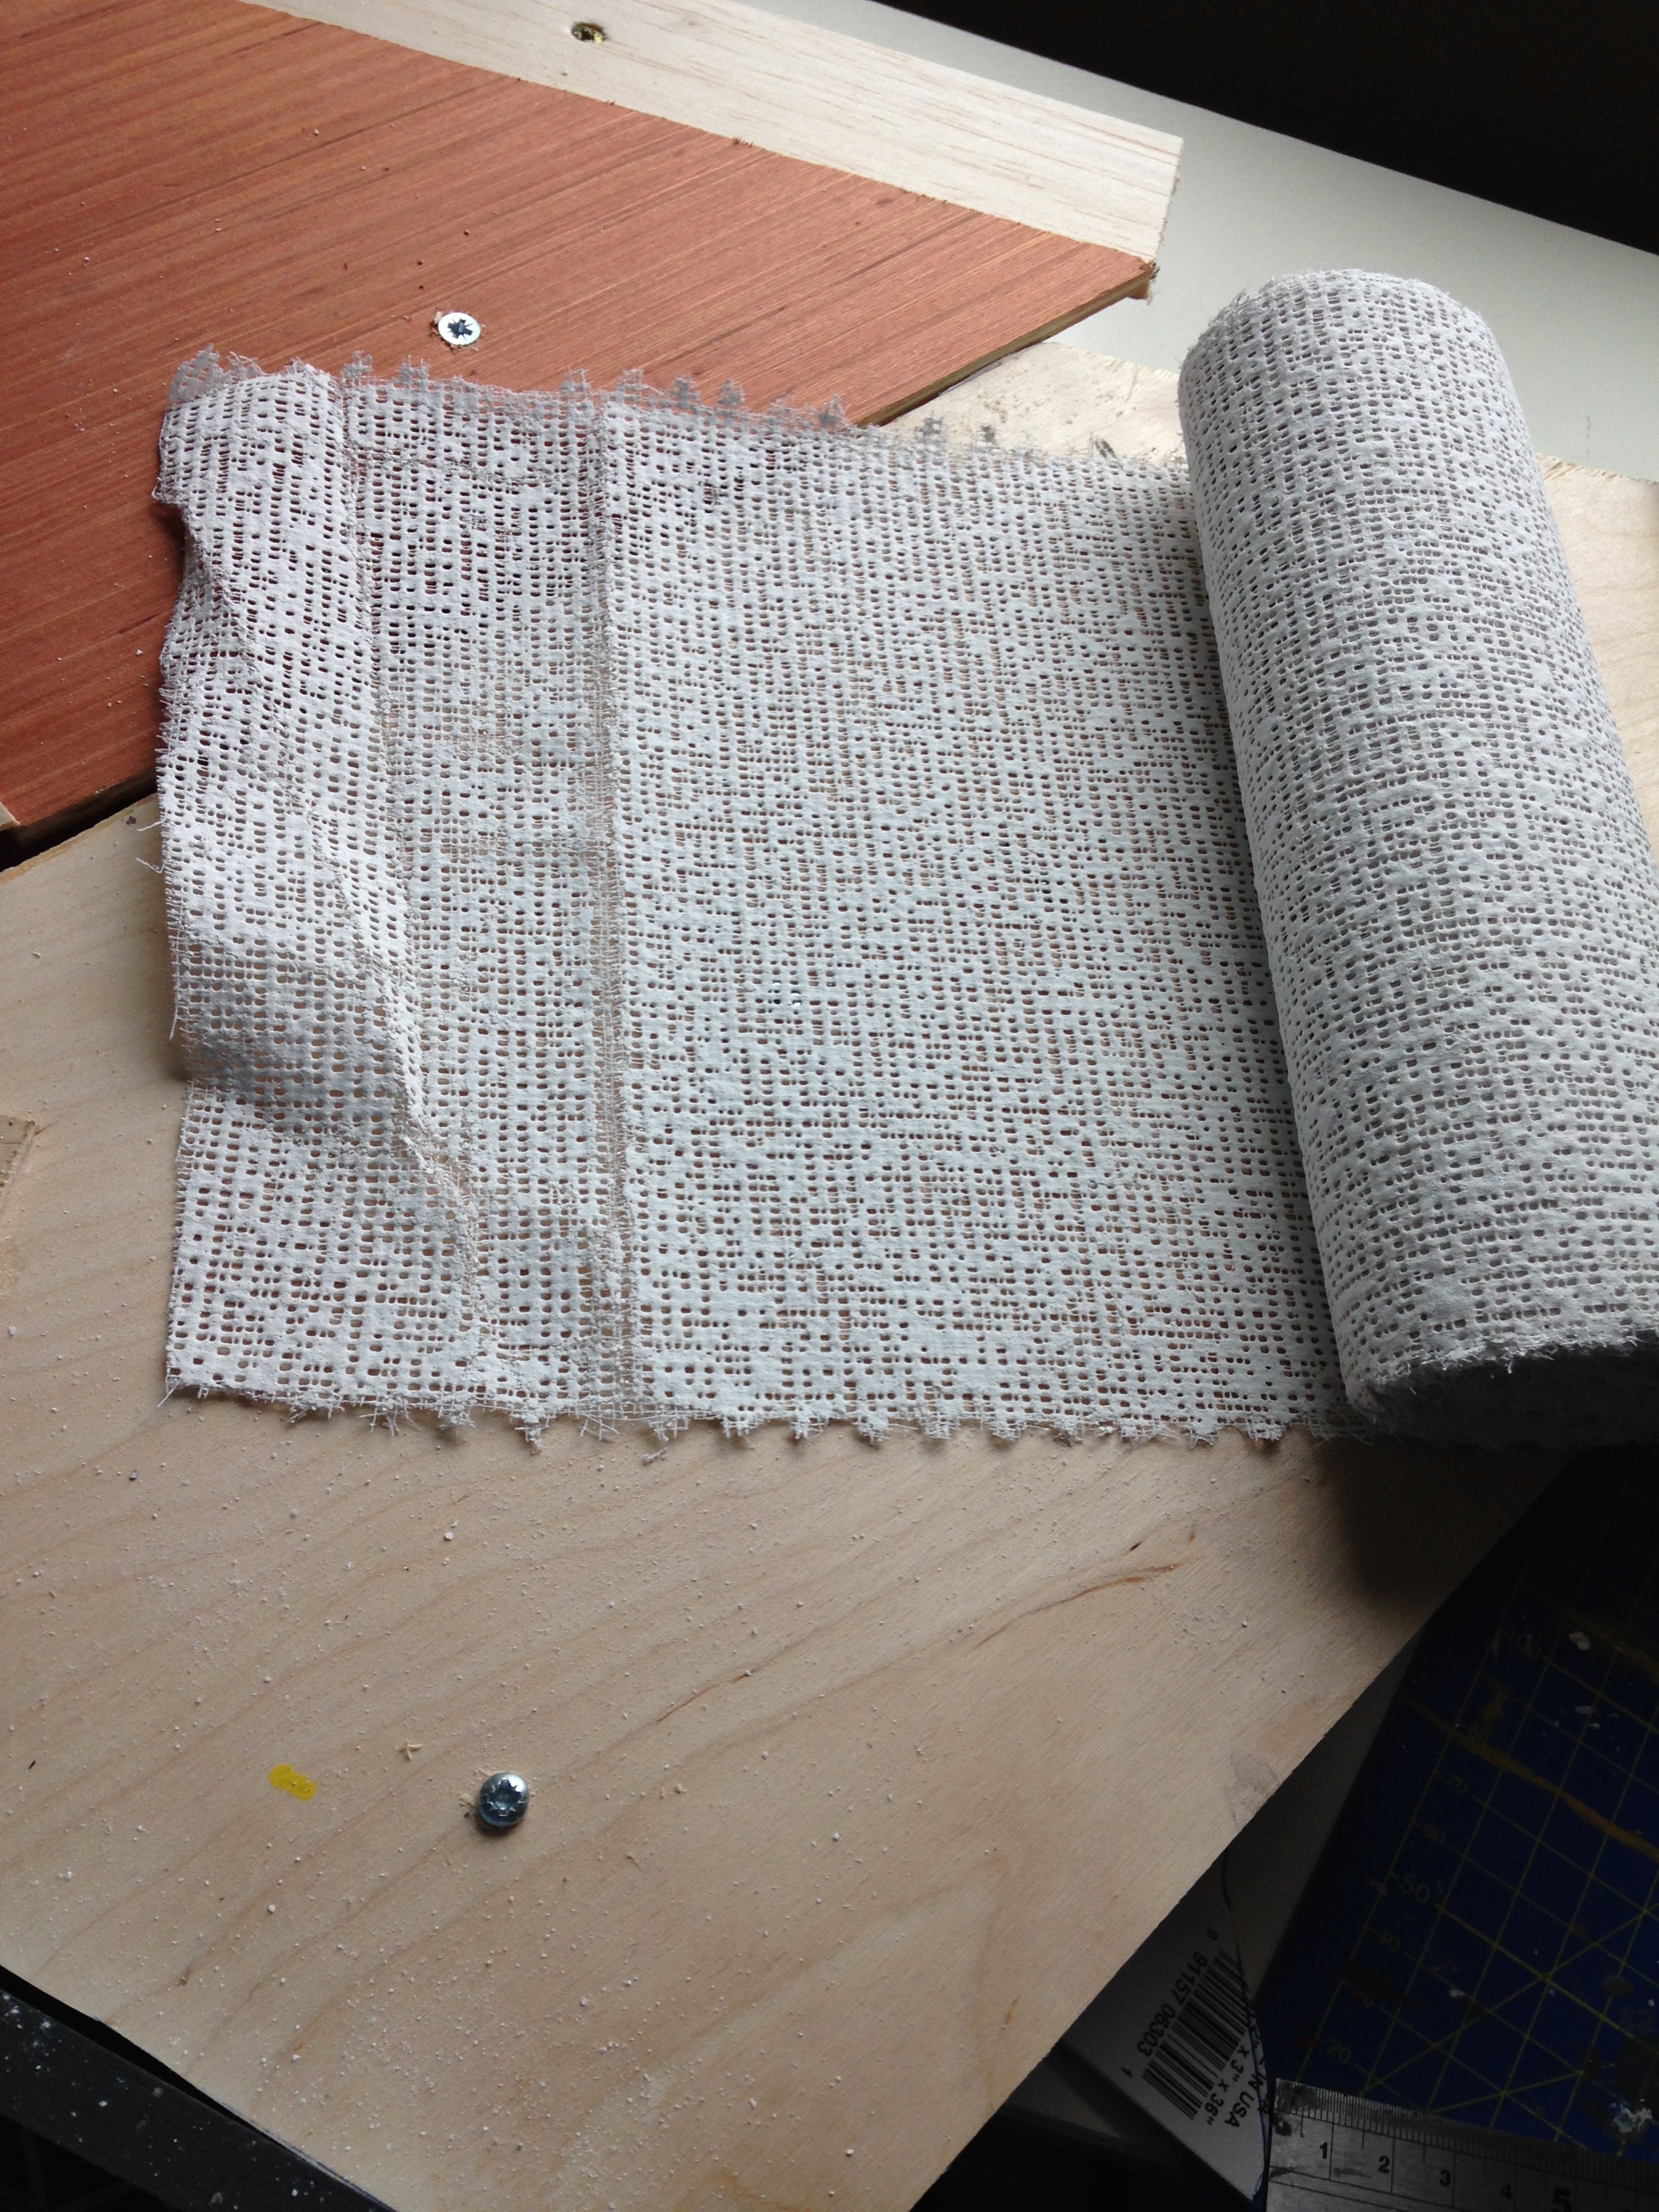
Next I need to landscape a slope behind the tube station linking the 2nd and 3rd tiers. This is something I haven’t attempted on my layout, but I’m keen to try it out using a roll of plaster mesh.
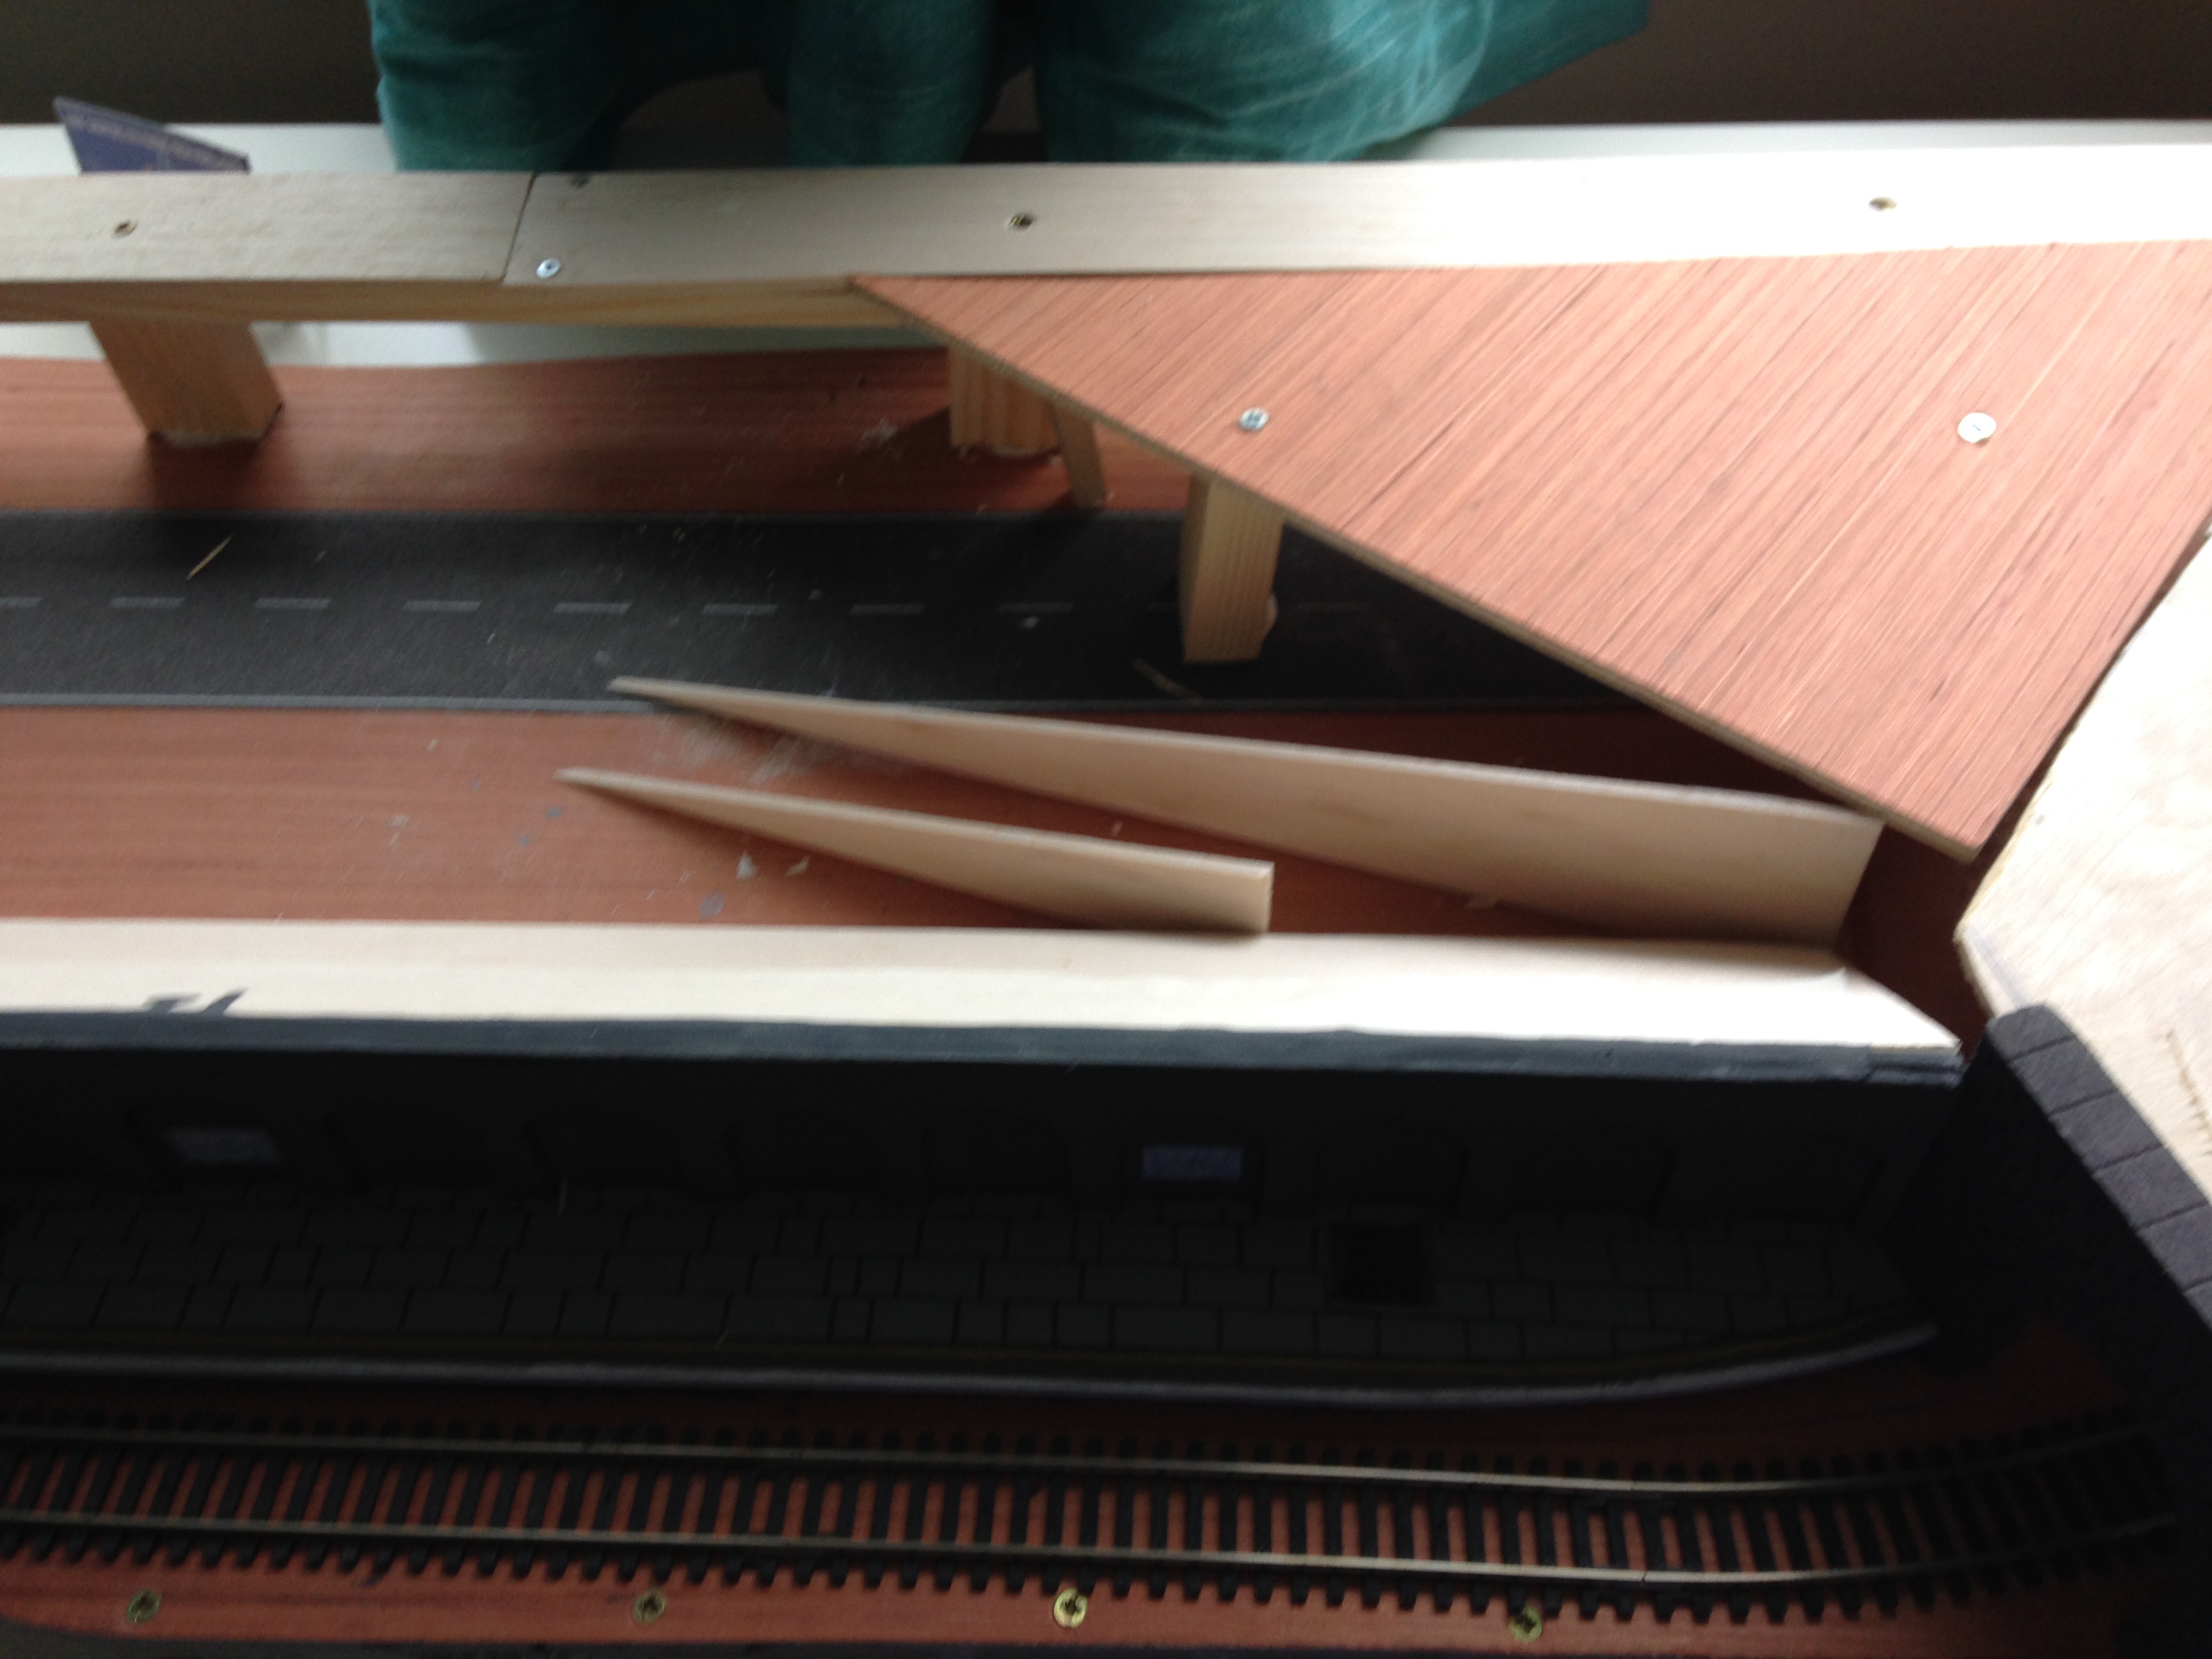
Start by making a frame to lay your plaster mesh on.
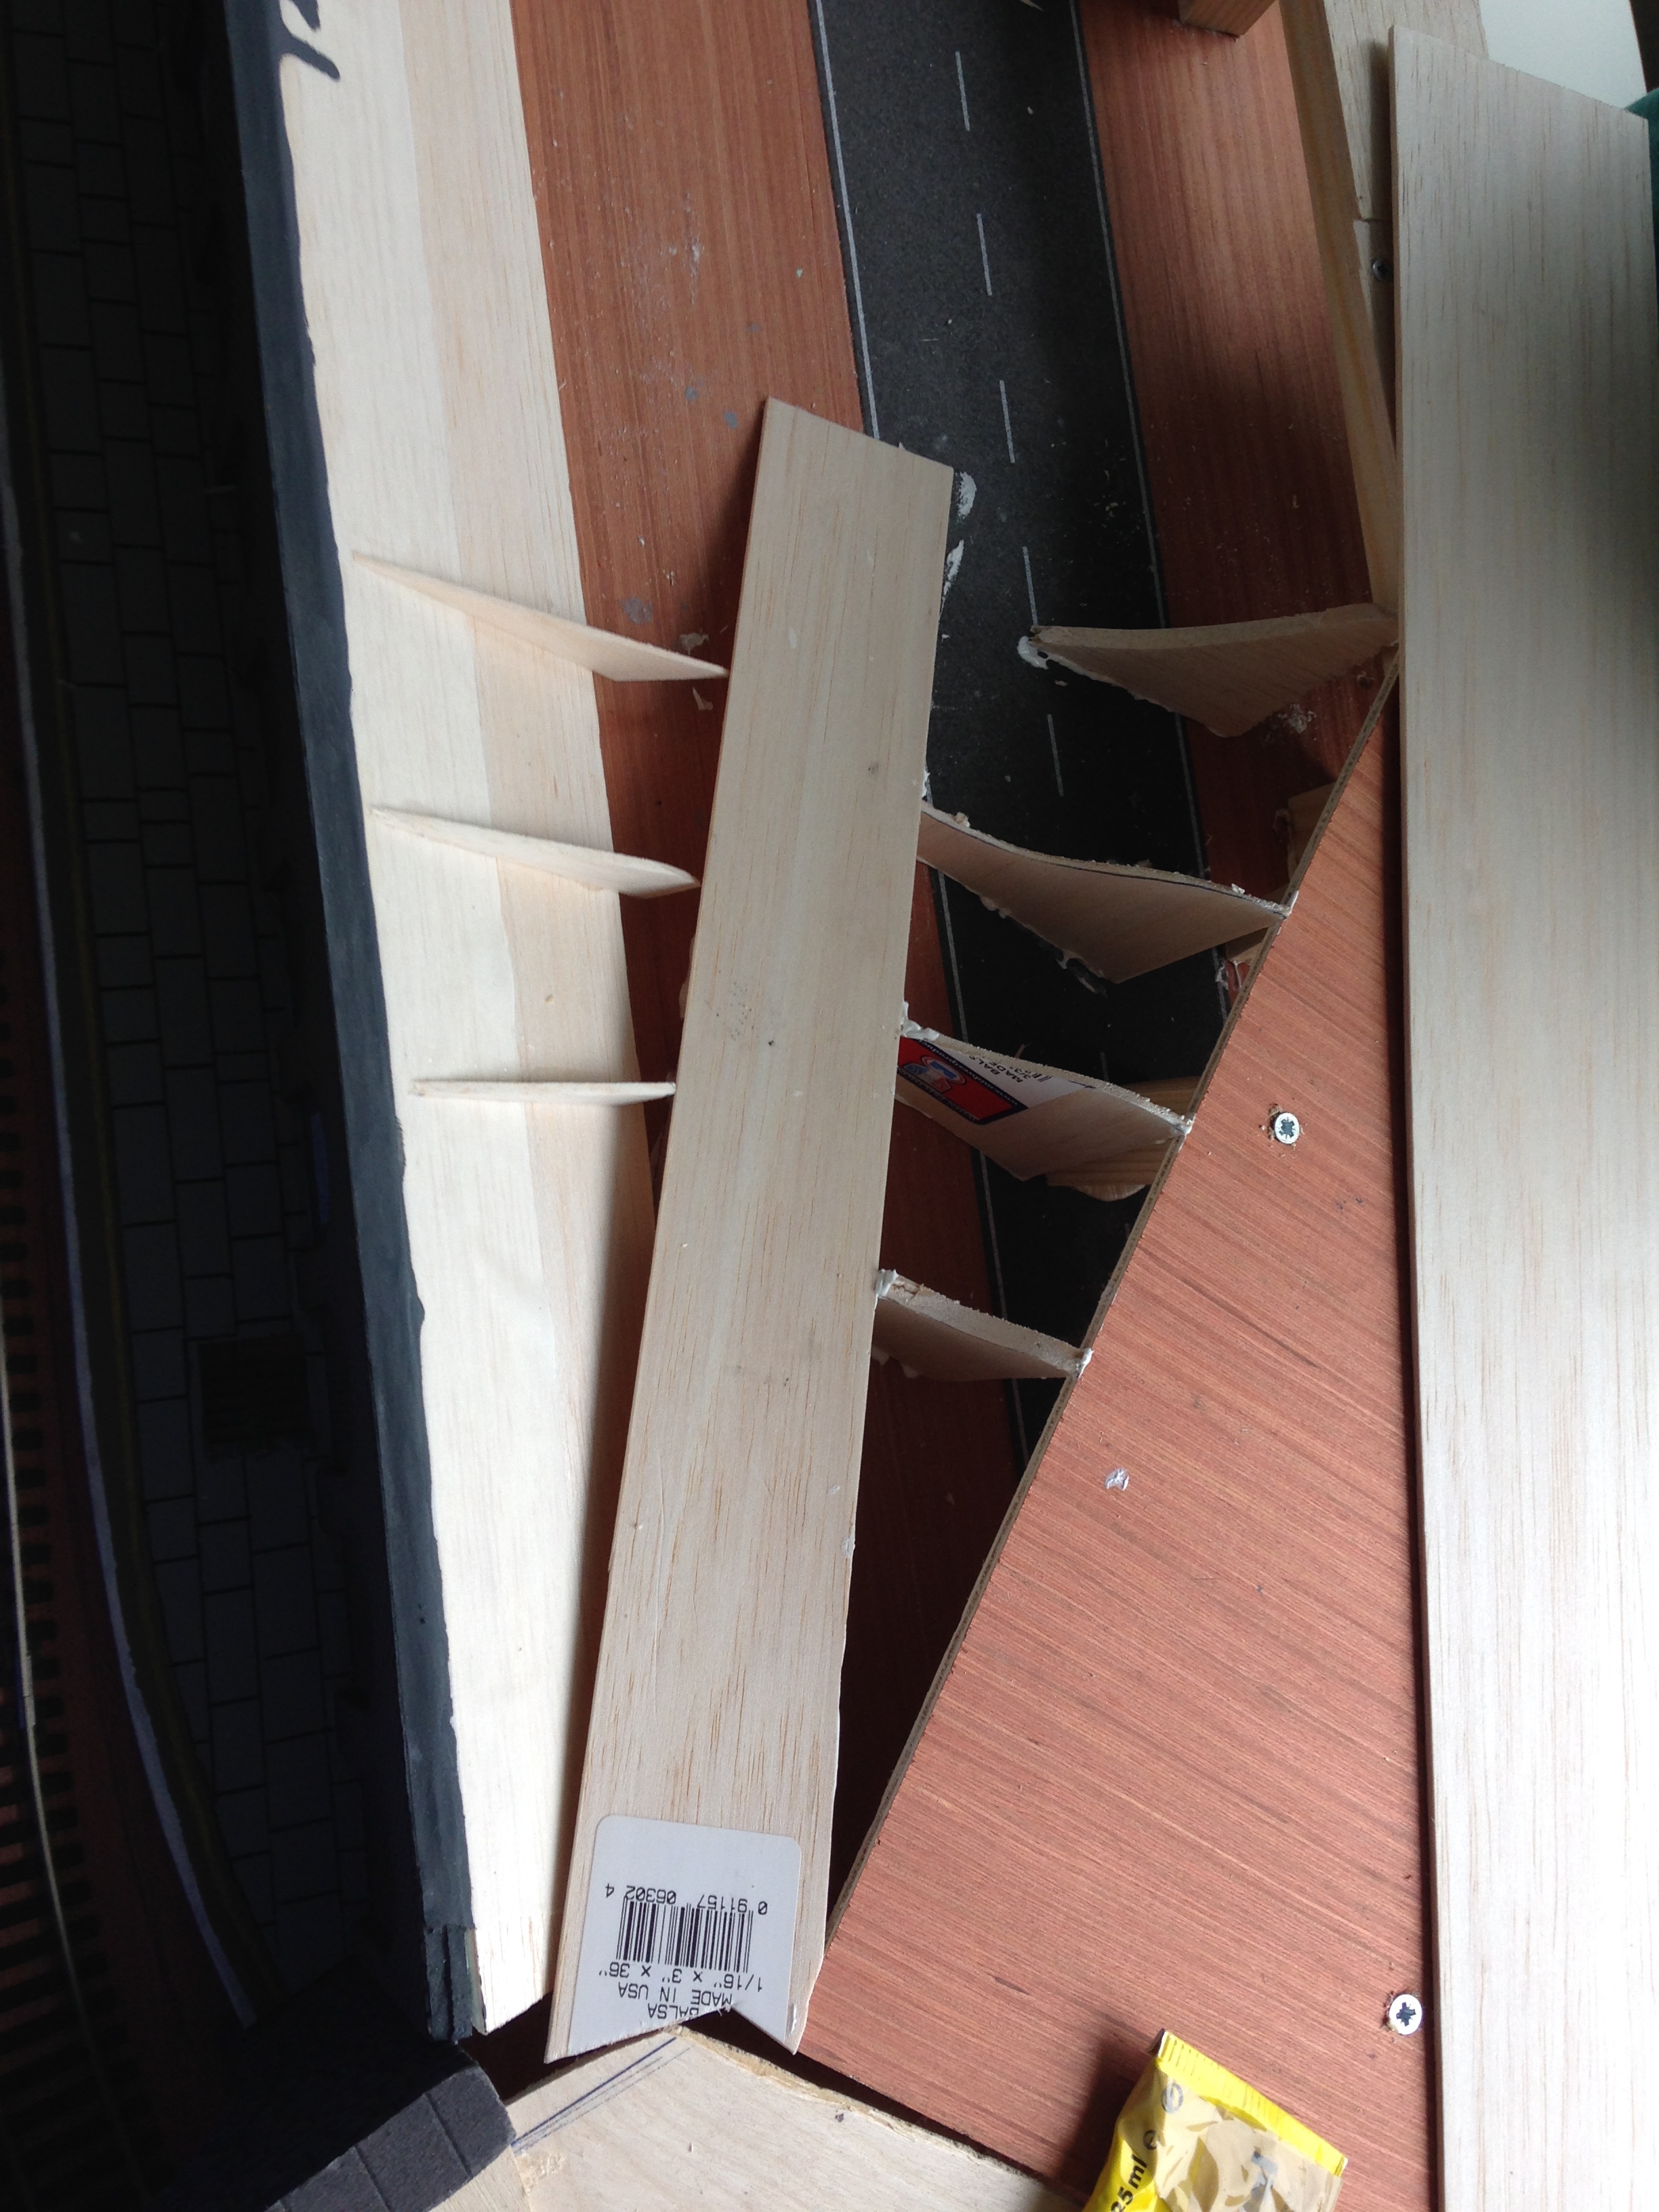
I’m using my old favourite, Balsa Wood, as it’s easy to cut. You can’t start to see the intended contours of the hill forming…

Simply cut the plaster mesh to size and lay it in a tray to get it wet… (If you don’t have something dedicated to the task, use an oven tray covered in clingfilm).

Slap it on and smooth out the plaster with a brush or your fingers to provide continuous cover.

Eventually the plaster starts look sufficiently landscape-y. It doesn’t take too long to partially set, so you can always add more layers if you need to. After that you should leave it for 24hrs to fully cure.

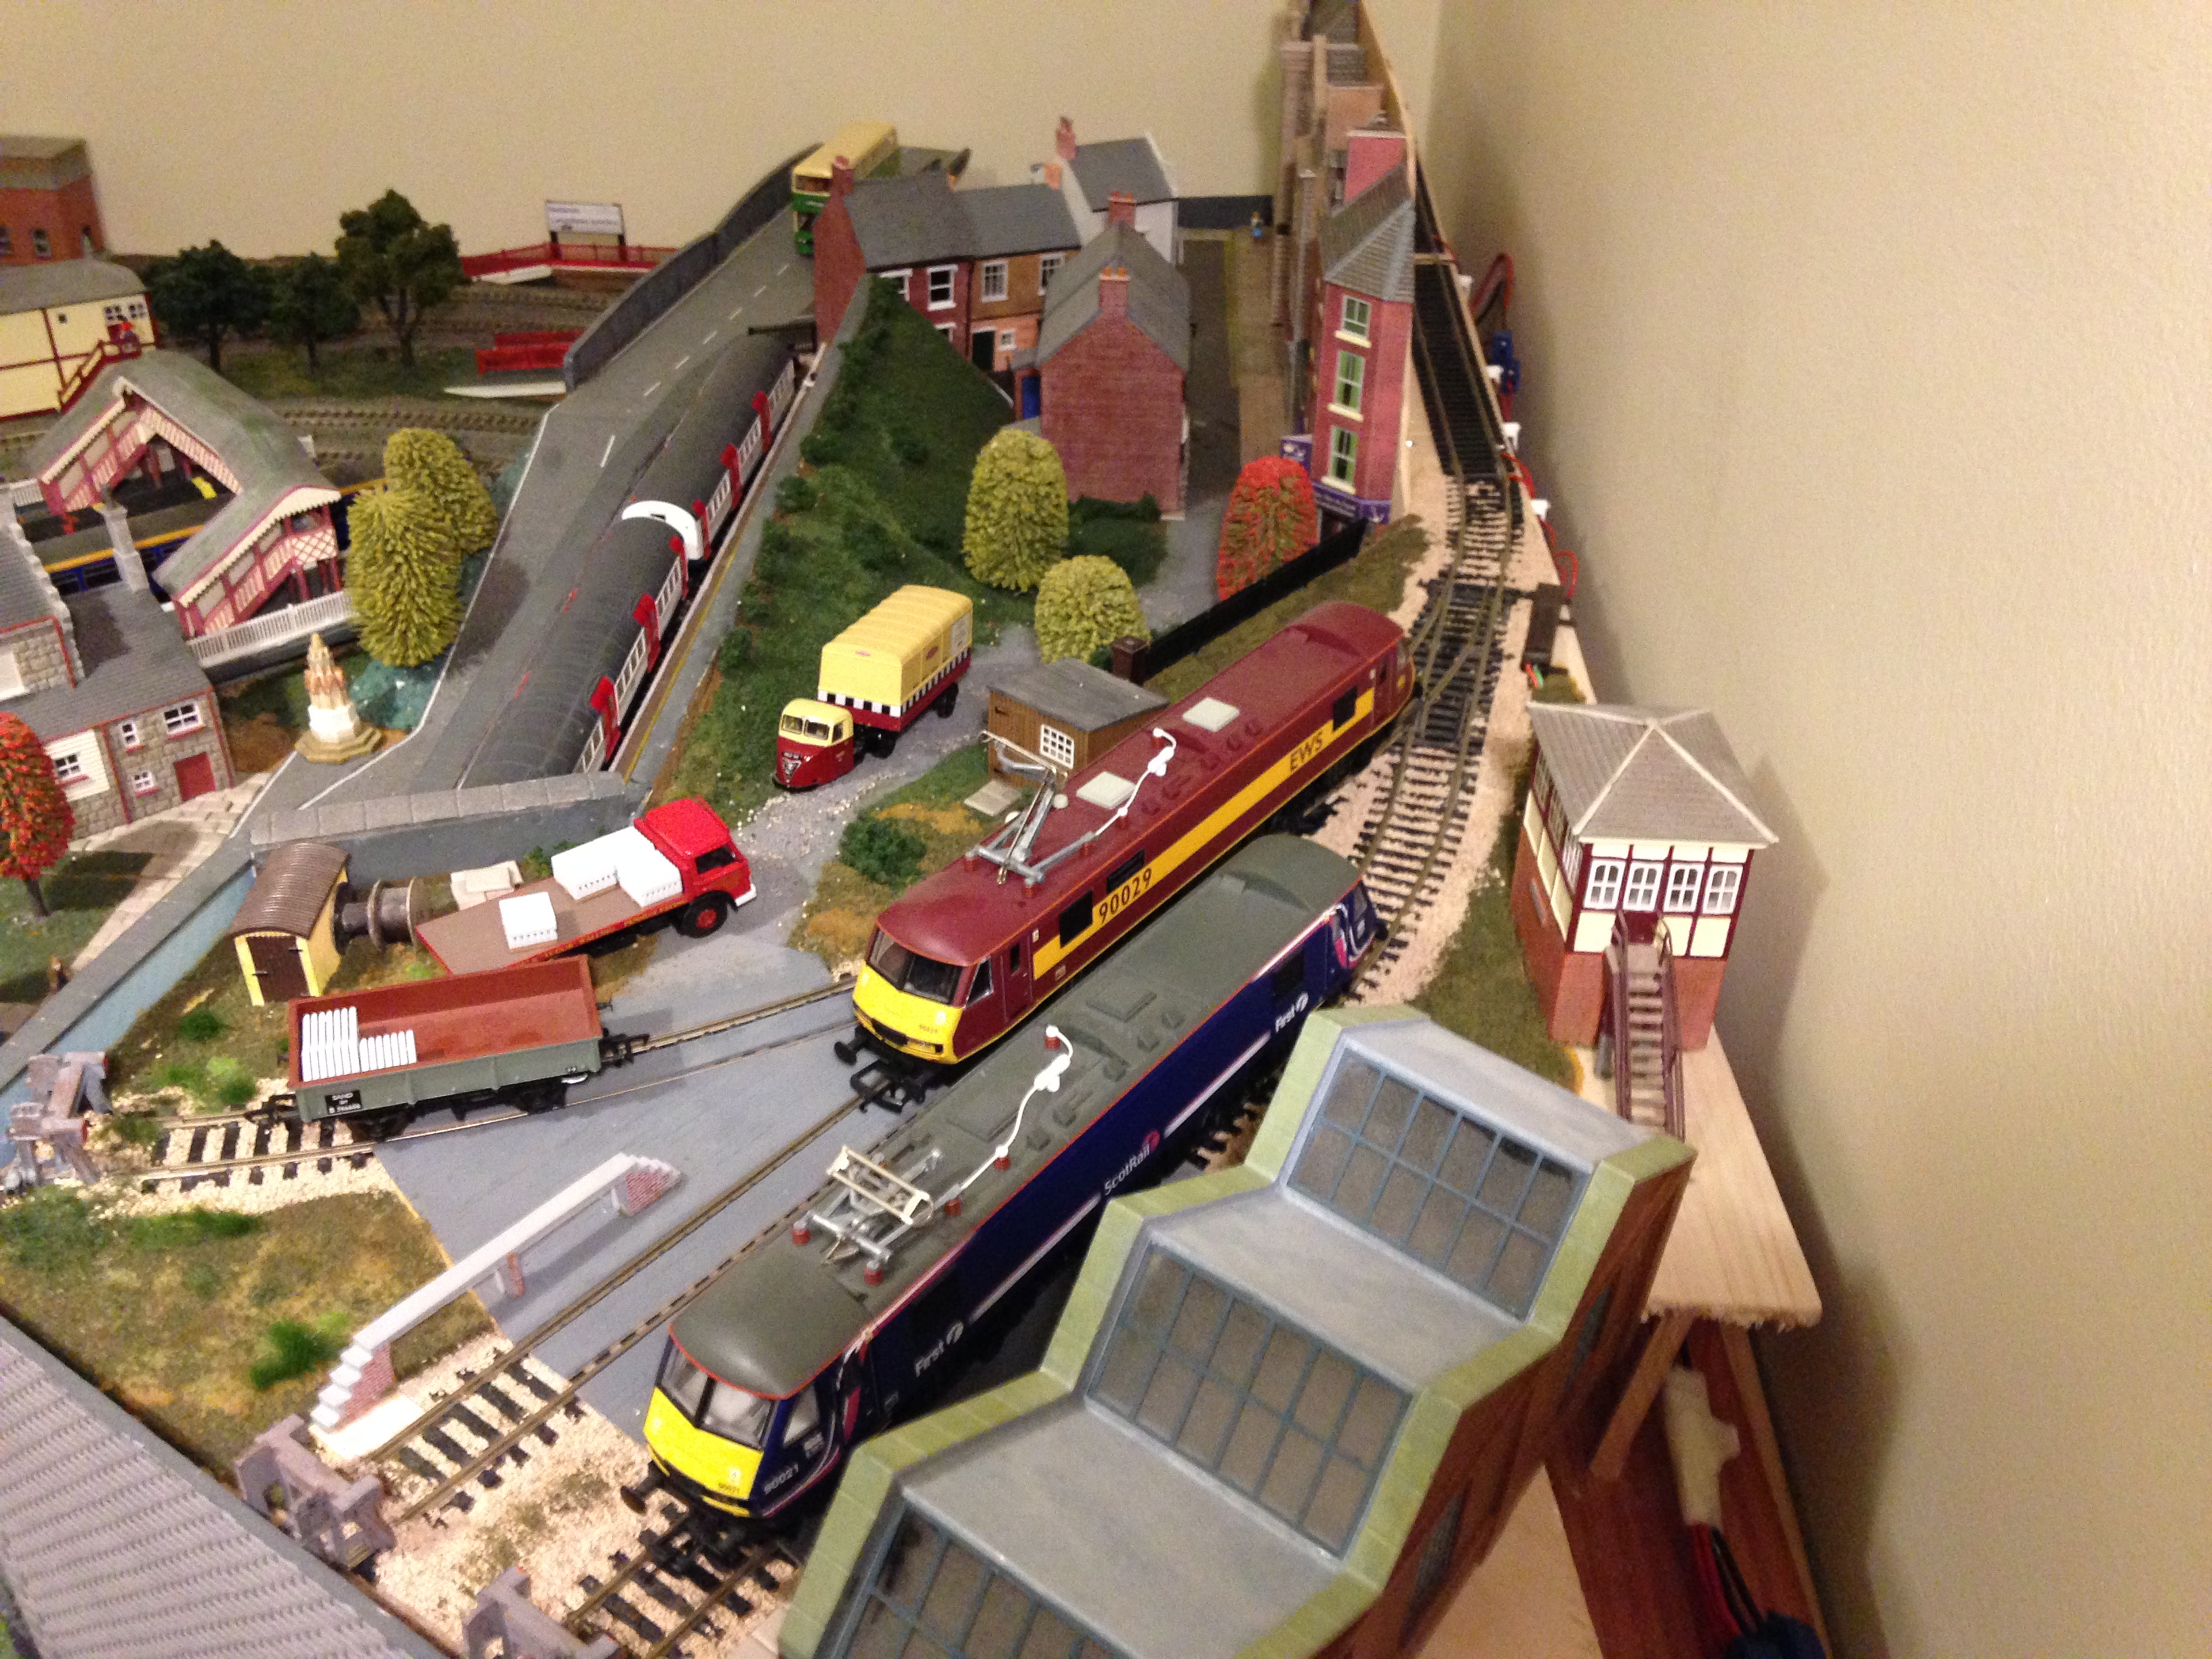
Now you can build up scenery in the usual manner. The trees incidentally can be pushed directly into the plaster. You can also see the track layout of the small yard (mostly salvaged from Salford Chapel). It’s already fully wired, including the point motors for ease of operation. The line running out of shot to the left features two isolating sections so locos in the yard can be moved around. It will be hidden from view…

…like this! This will eventually be fronted by buildings. I’ll get to that shortly…

The yard is ballasted, and with plenty of features added.

I’ve made up some low relief Metcalfe buildings to sit on that back wall. I was impressed with how good they look and how easy they were to put together!

I’ve also started adding lighting to these as with the rest of the buildings on the layout.

…And so the upper two tiers start to take shape nicely!
There’s still a little bit of scenery to complete behind the signal box and goods shed… I also need to add 3rd and 4th rails to The Tube line as well as ballast it through the station.
Stay tuned for more updates soon! Please also check out my Langstead Christmas Video Short!
– Andy Carter
